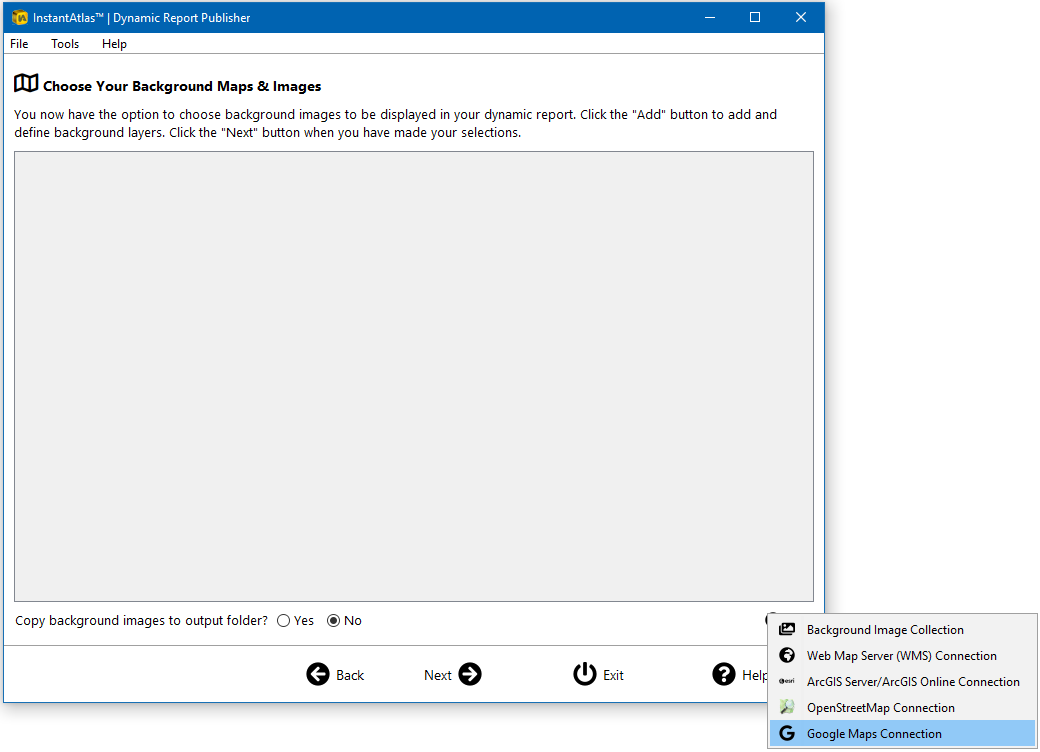
When pubishing a dynamic report the InstantAtlas Publisher will give you the option to add background layers to the map(s) of you report. One source from where you can get background images from is Google Maps.
Once you have added the Google Maps Layer, you will be prompted to enter an API key. Please refer to the Google Maps API documentation on how to obtain an API key. If you need any information or help with this please contact support@instantatlas.com.
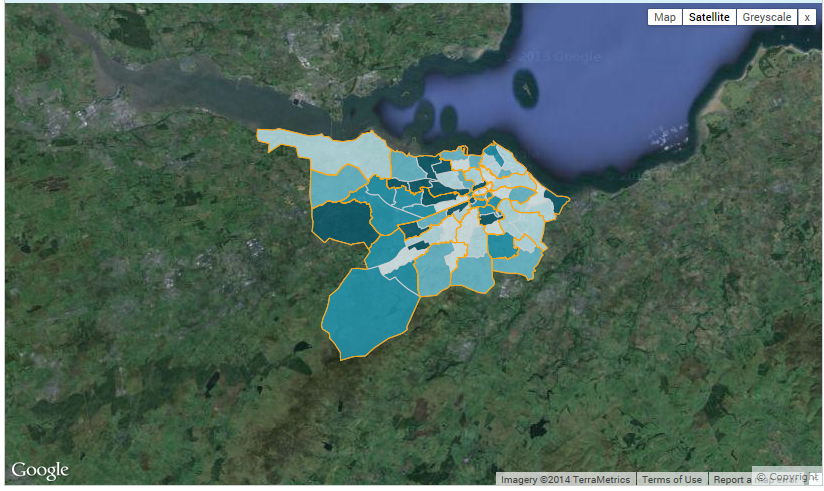
Select from the ‘Map Type’ drop down list the Google Maps layer you wish to see by default when you open your report or toggle on the background layer. The end-user will be able to change the Google Maps layer they see by switching between the layer buttons on the top right of the map.
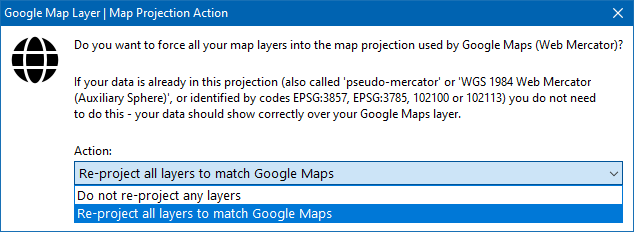
The Publisher will automatically re-project all base and contextual layers you have uploaded for your report into the geographic coordinate system ‘WGS 1984 Web Mercator (Auxiliary Sphere)’ to match the Google Maps projection.
![]() It is vital that you consider the following points:
It is vital that you consider the following points:
- This re-projection only works if the Publisher knows the coordinate system of your map files. If you are using ESRI shapefiles that include a .prj file, the Publisher can pick up the coordinate system information out of this file. If your shapefile does not have a .prj file or if you are working with MapInfo MID/MIF or TAB files, you will need to select the appropriate coordinate system from the Layer Properties in the ‘Coord System’ tab. Alternatively you can re-project these map layers before using them in InstantAtlas.
- The re-projection will only work if your map file(s) are in one of the following supported coordinate systems:
o Un-projected coordinate systems (e.g. latitude/longitude)
o Coordinate systems that use a Transverse Mercator projection (e.g. British National Grid, UTM zones)
o Global coordinate systems using a Mercator projection.
o Lambert Conformal Conic projection
If your map layers are already in the correct projection, click on the ‘Advanced’ button and select the option ‘Do not re-project any layers’ in the drop down list.