
Introduction
This article describes how to print Instant Atlas dynamic reports in general as well as how to create high quality paper printouts. As printing dynamic websites through a web browser depends on the browser specifics like type, settings and version, the best results are generally achieved by printing reports as images.
Print using the print option of the dynamic report
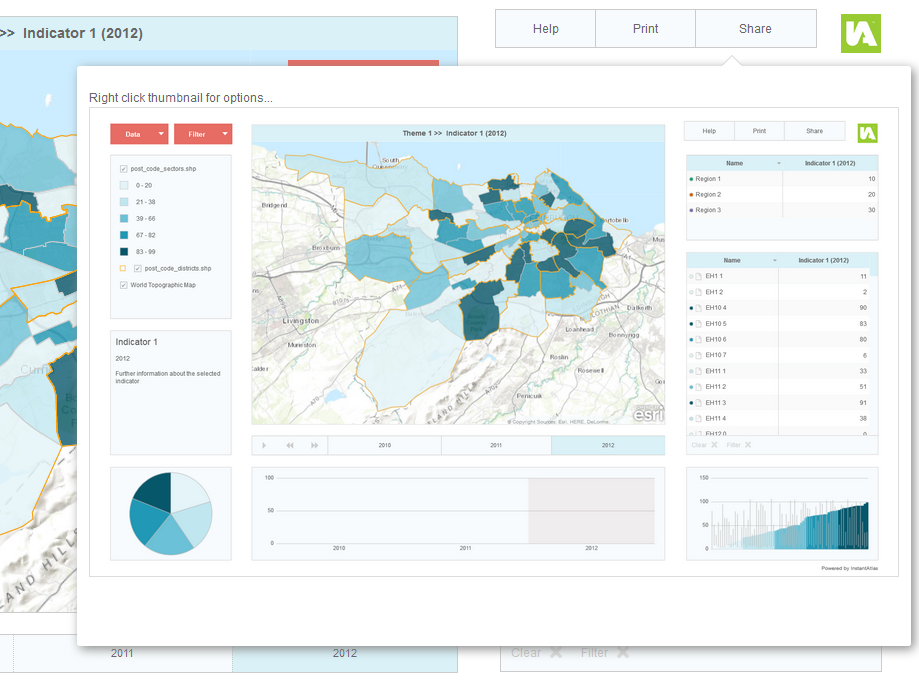
The menu bar component by default contains the ‘Help’, ‘Print’ and ‘Share’ buttons. Clicking the ‘Print’ button opens the report in a new browser tab resized to fit on an A4 sheet of paper.

The magnifying glass icons ![]() and
and ![]() can be used to adjust the size of the printout.
can be used to adjust the size of the printout.
In the print preview it is also possible to rearrange the report layout by moving, resizing and deleting components. For this to work, the check box ![]() needs to be ticked (which it is by default). The user can hover with the mouse over a component until a four-way-arrow appears and then click and drag to move the component. If hovering over the border of a component, a two-way-arrow appears that allows the component to be resized by clicking and dragging. Some components might need to be resized to a larger size before they can be moved. Each component also has a small toolbar in the top right hand corner that appears when the user hovers over the component with the mouse.
needs to be ticked (which it is by default). The user can hover with the mouse over a component until a four-way-arrow appears and then click and drag to move the component. If hovering over the border of a component, a two-way-arrow appears that allows the component to be resized by clicking and dragging. Some components might need to be resized to a larger size before they can be moved. Each component also has a small toolbar in the top right hand corner that appears when the user hovers over the component with the mouse.

The three buttons in the toolbar are explained below:
![]() Displays the component on top of all other components (the effect is only visible if components overlap each other).
Displays the component on top of all other components (the effect is only visible if components overlap each other).
![]() Displays the component behind all other components (the effect is only visible if components overlap each other).
Displays the component behind all other components (the effect is only visible if components overlap each other).
![]() Deletes the component from the report layout.
Deletes the component from the report layout.
Refreshing the browser page restores the original report layout. If the check box ![]() is unticked, the user can interact with the dynamic report in the normal way, i.e. select features, change indicators, zoom and pan the map etc.
is unticked, the user can interact with the dynamic report in the normal way, i.e. select features, change indicators, zoom and pan the map etc.
Once you are happy with the report layout, click on the printer icon ![]() to be redirected to the the browser’s print dialog where all further adjustments can be made.
to be redirected to the the browser’s print dialog where all further adjustments can be made.
The results from printing using this method might vary depending on your browser type and settings. If the result is not suitable you can either try to use a different browser (Google Chrome normally works best) or print the report as an image.
Save a report as an image before printing
The menu bar’s ‘Share’ button contains a thumbnail that can be used to save the report as an image. Saving the report as an image before printing will prevent the result from being affected by browser settings. This is the suggested method of printing IA dynamic reports.
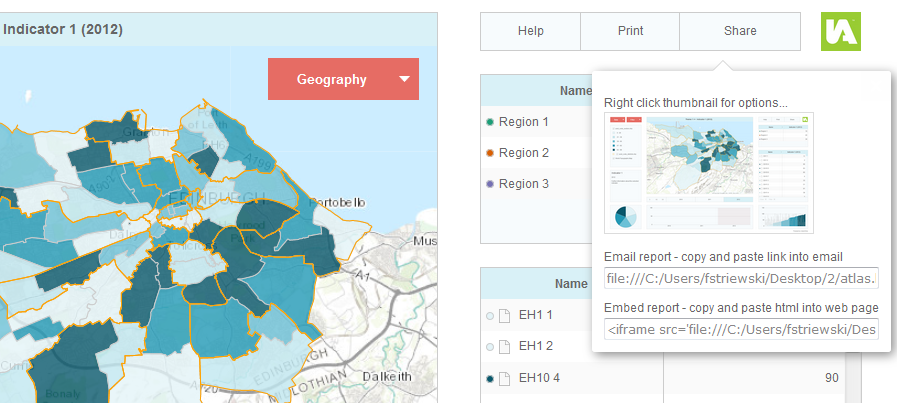
Right click on the thumbnail and use ‘Save image as…’ to download the image in PNG format. The quality of this image will depend on the actual screen resolution. Print the image from your image viewer or by doing a right click on the file and choosing ‘Print’.
The ‘Share’ pop-up dialog can be transformed to only contain the thumbnail image for saving the report as a PNG file. This is useful if the embedding and sharing code of the share pop-up is not needed in the report. The following changes need to be done:
Changes in Designer:
- Open the report in the Designer and go to the General Properties. Delete the values for ‘Email Report Text’ and ‘Embed Report Text’. If you prefer a custom instruction above the thumbnail image, you can define your own text for ‘Save Image Text’.
- Go to the menu bar properties by selecting the menu bar component. If you would like to remove the Print button completely delete the values for ‘Menu Item 2’ and ‘Menu Function 2’. Rename ‘Menu Item 3’ to ‘Save as Image’ if desired.
- Save your edits and close the Designer.
Changes to the advanced.css.
- Open the advanced.css from your report folder in a text editor.
- Search for .ia-export-thumbnail. By changing the width value the thumbnail can be resized. A bigger thumbnail will give the end user a better preview of the image.
- Search for .callout-notch-border-top and scroll down to the next entry .ia-input.
Set the font-size for .ia-input to 0px to remove the margins under the tumbnail. - Scroll down to the end of the file and add the following lines to the advanced.css:
#ia-share-callout
{
                visibility: hidden;
}

#ia-embed-callout
{
                visibility: hidden;
}
5. Save and close the advanced.css.
Creating quality paper printouts
Saving a report as an image limits the resolution of the image to the actual screen size. For high quality paper printouts the recommended method is thus to print through the the menu bar of the dynamic report to be able to use the browser’s print dialog settings. The best results are usually achieved by using Chrome and by printing to PDF.
The following instructions rely on the user having third party products such as Adobe Acrobat Writer and Adobe Illustrator.
Open the report, click on ‘Print’ in the menu bar and rearrange the report layout if you wish. Then click on the printer icon at the top of the preview window.
![]()
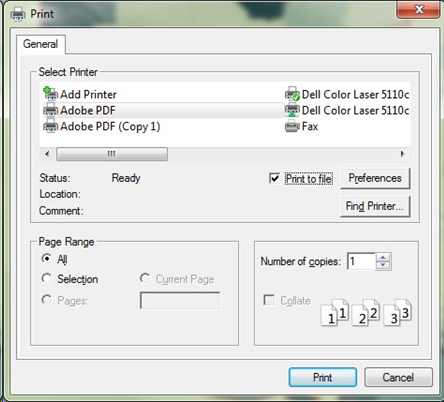
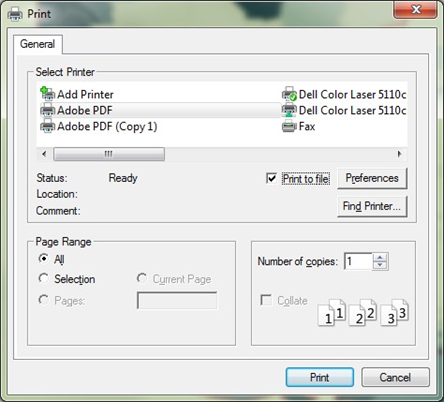
This will open the Print dialog box. Choose the option ‘Adobe PDF’, then go to ‘Preferences’.
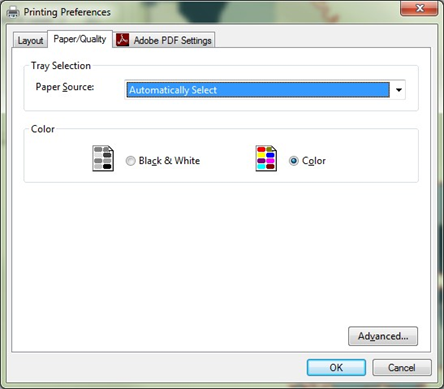
Go to ‘Layout’ select ‘Landscape’ and then in ‘Paper/Quality’ select ‘Advanced’.
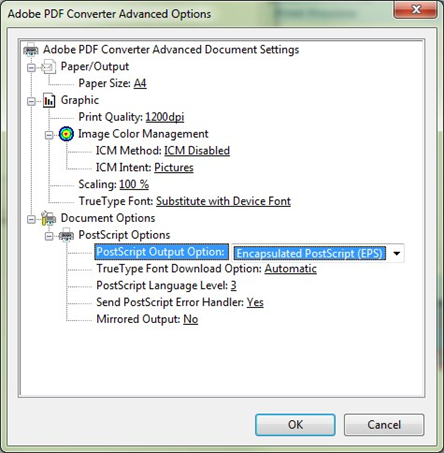
In the Advanced Options select paper size ‘A4’, and in PostScript Output Options select ‘Encapsulated PostScript (EPS)’.
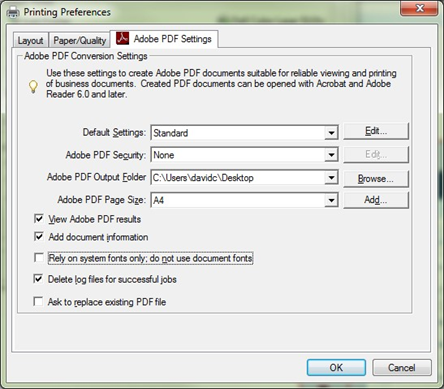
Go to the ‘Adobe PDF Settings’ tab and change the settings to be as follows:
- Default Settings = High Quality Print
- Adobe PDF Security = None
- Adobe PDF Output Folder = C:\Users\Username\Desktop
- Adobe PDF Page Size = A4
- Switch off ‘Rely on system fonts only; do not use document fonts’
Go back to the Print dialog box and tick ‘Print to File’.
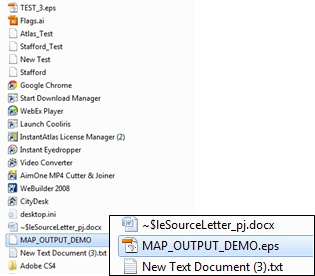
The Print dialog Output box will now appear. Give your file a name, e.g.MAP_OUTPUT.EPS
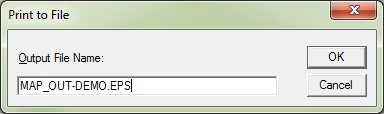
By default the file should be sitting in C:\Users\<YOURNAME>\Desktop
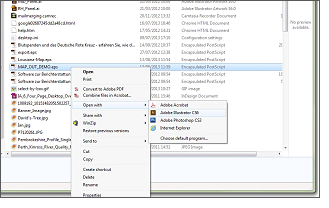
Right click and Open with Adobe Illustrator.
Your vector map will appear in an A4 window within Adobe Illustrator.
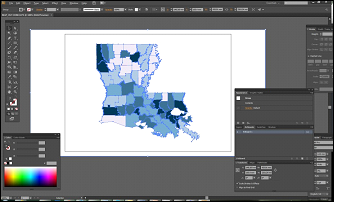
You now have a high resolution vector image that your designer and printer can use for CYMK printing.