Overview
While you may have all your data already in an ArcGIS Online feature service in some instances you may not. Being able to load CSV data can be very useful as it saves having to republish a feature layer or allows you to add data for a feature layer that your are unable to republish i.e. someone else’s.
What is a CSV file?
A CSV file is a simple text file that contains the attribute data in a comma-delimited format. The file extension must be .csv. The easiest way to create a CSV file is to to use a spreadsheet software such as Microsoft Excel to organise your data and then save it as a CSV file. Please note that only single worksheets can be saved into CSV format.
The structure of the CSV file
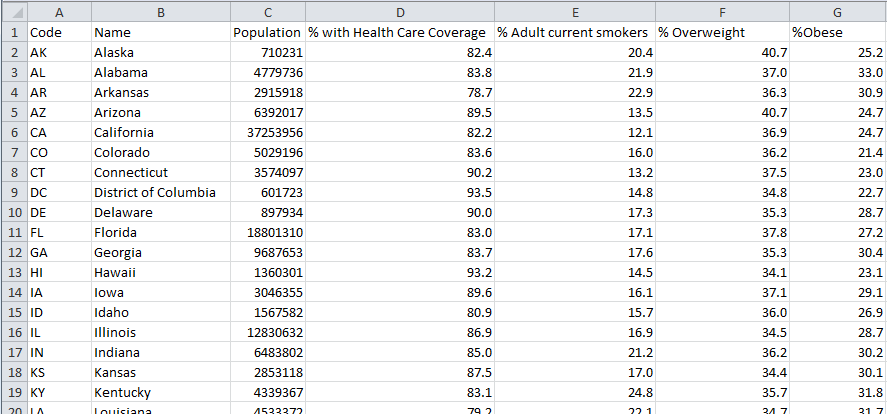
The first row of your CSV file contains the column headers. They don’t have to be your exact indicator names but you should be able to recognize what they are so that you can use them to build your dashboard’s data model. You should avoid using commas in the column headers as this will lead to issues within Dashboard Builder.
We suggest that the first column contains the feature codes. These must match the codes of your ArcGIS Online feature service. You don’t need the feature names in your CSV file but it may be good to have them in there as a reference for you. The following columns to the right contain the indicators.
Here a simple example:
If the codes of the first column do not match, Dashboard Builder will display this warning:
![]()
You can select a different column from the csv that matches the codes of the feature service by clicking on the corresponding header cell.
It is possible to include data for any comparison areas you may wish to display in your dashboard. Also you can pre-define time series in your CSV file; please read the relevant sections for further information.
How to upload the CSV file into IA Online
First you should upload the CSV file into your ArcGIS Online account, so you can use it within dashboard builder.
CSV data can be added to your data model via the data manager. Ensure you have set the ID field in your data model before adding the CSV data.

The interface will ask you to browse to your CSV file within your ArcGIS Online account.
![]()
In a second step it will list all indicators it can find in the CSV file and ask you to confirm that you would like to add them.

Once added the additional CSV fields will appear in your source data ready to be included in your data model.
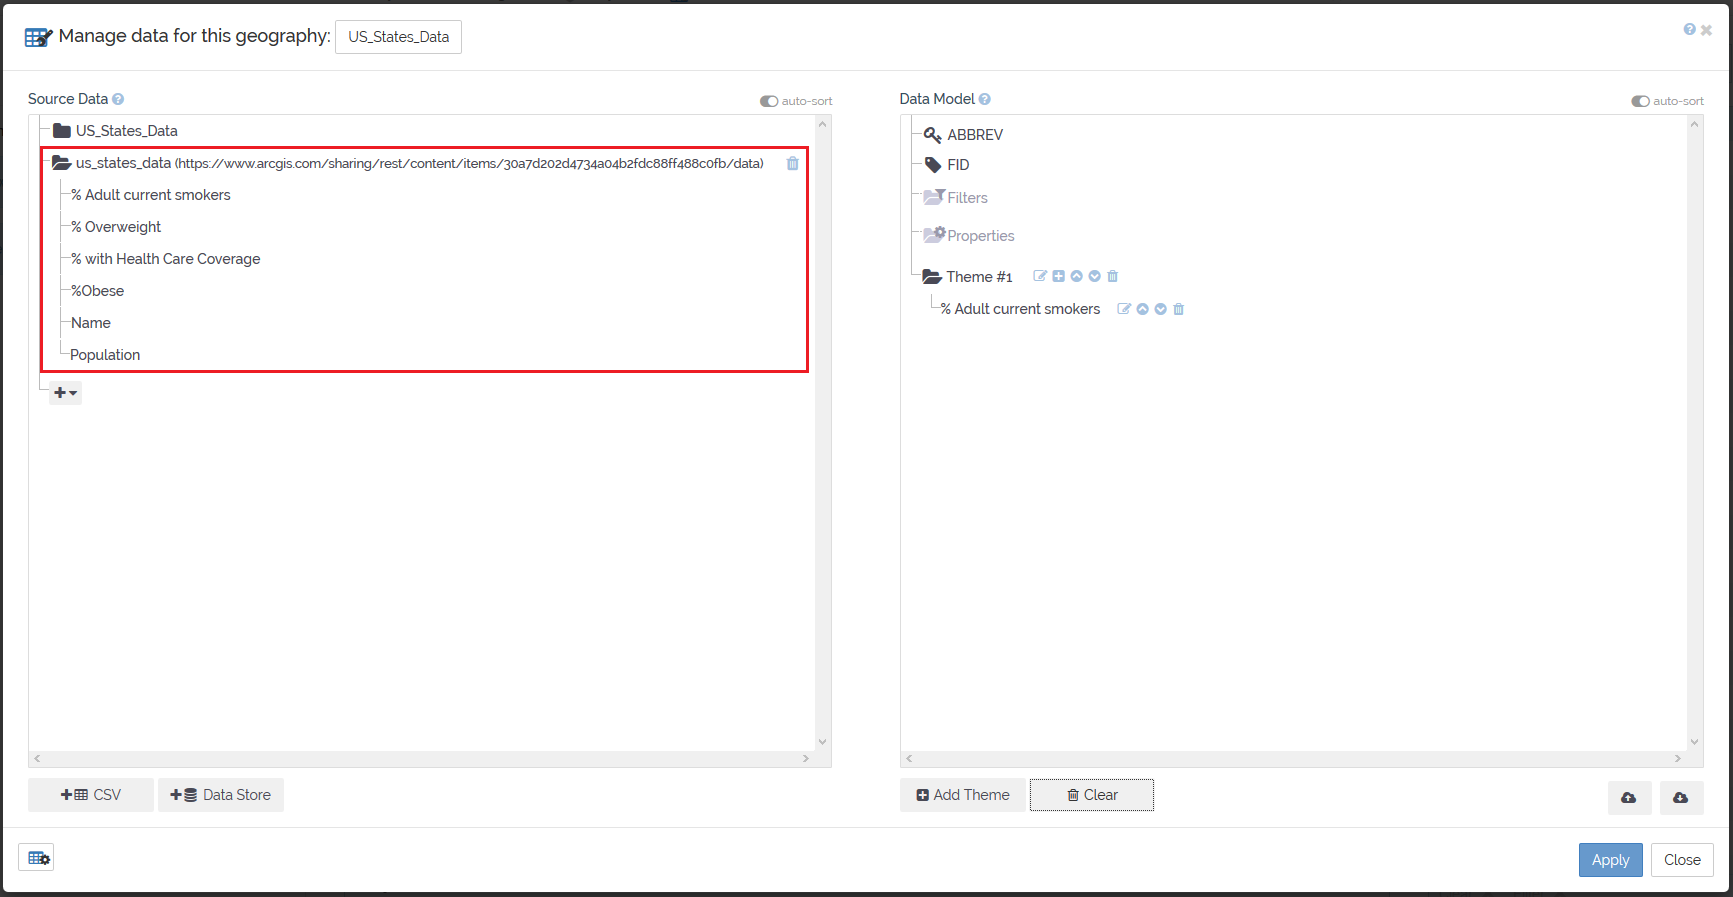
If you need help on how to create a data model for your dashboard, please refer to the data manager section .
If you update the data in a CSV file through ArcGIS Online, the updated values of existing indicators will automatically appear in your dashboard. However you have to ensure that the column headers are named exactly the same as in the original CSV file. If your updated CSV file contains additional columns, you will have to use the data manager to add those into your data model before they will be displayed in your dashboard.
Using the button ![]() , you can add multiple CSV files to your data manager. If you hover over the title area of an added CSV file in the Source Data section, the CSV data source can be removed by clicking on the icon .
, you can add multiple CSV files to your data manager. If you hover over the title area of an added CSV file in the Source Data section, the CSV data source can be removed by clicking on the icon .